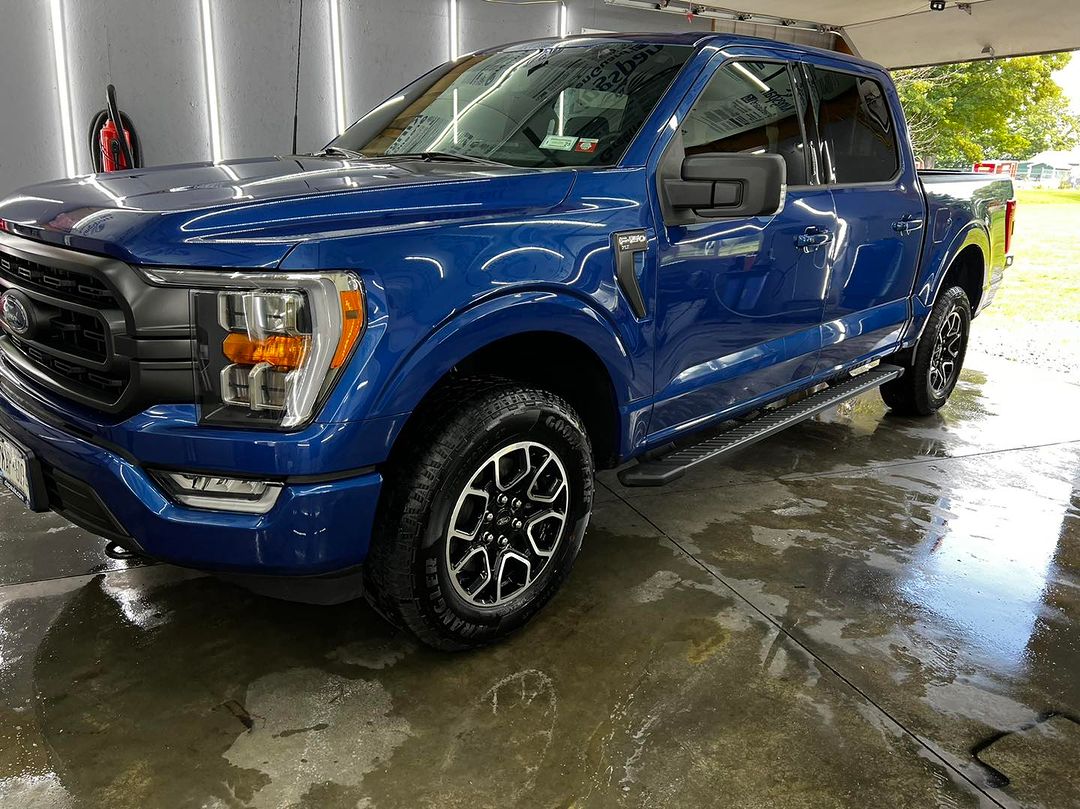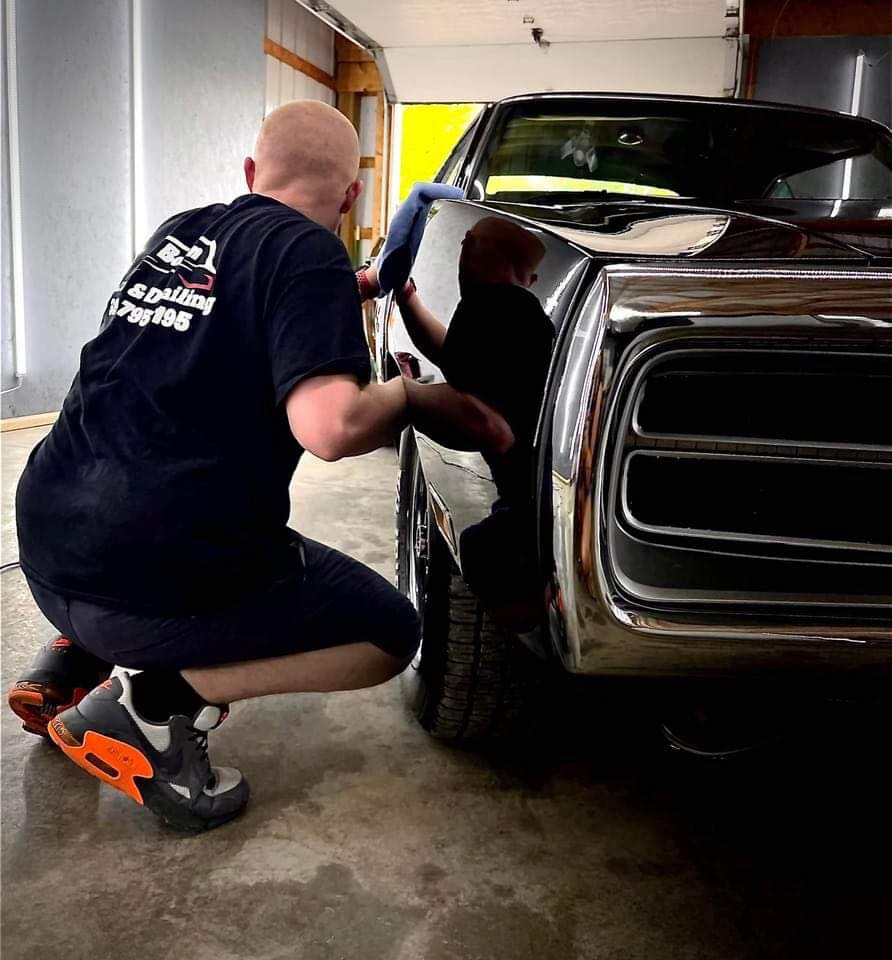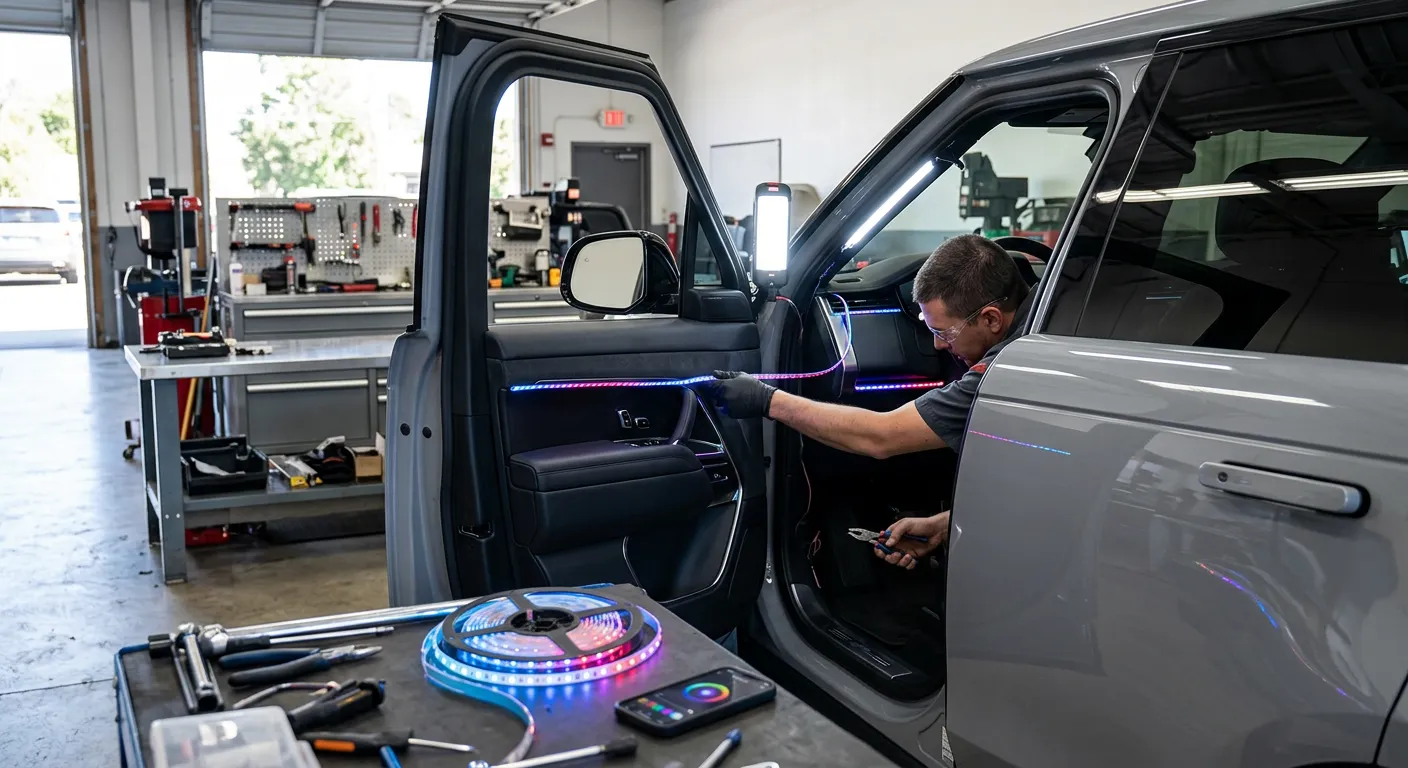
Interior ambient lighting installation is a clean way to give your vehicle cabin a more personal, modern, and finished look. For Syracuse, NY drivers, this upgrade can add soft light around the dash, doors, console, footwells, cup holders, speakers, or rear passenger area.
The real question is simple: do you want your cabin to feel subtle and factory-like, or do you want it to stand out at night?
At Notorious Auto Protection, interior ambient lighting installation is planned around the vehicle and the driver. The goal is not to throw bright lights everywhere. The goal is to place lighting where it looks right, feels balanced, and stays easy to control.
Notorious Auto Protection is located at 6742 Pickard Dr, Syracuse, NY 13211. The shop works with car owners, truck owners, Jeep owners, Tesla drivers, daily commuters, and custom build enthusiasts across Syracuse, NY and Central New York.
To plan interior ambient lighting installation, call (315) 552-4441 or visit https://notoriousautoprotection.com/contact-us.
Interior ambient lighting installation adds soft LED lighting inside the vehicle cabin. It is different from dome lights, map lights, or work lights. Those lights are meant to brighten the cabin. Ambient lighting is meant to add color, depth, and style.
Common areas for interior ambient lighting installation include:
Here is why this matters.
Good ambient lighting should look like it belongs in the vehicle. It should not feel like loose strips were stuck under panels. A clean install hides wiring, places light evenly, and lets the driver control brightness and color without hassle.
Some drivers want a soft white glow. Others want blue, red, purple, or color-changing lighting. Some want lighting that matches a wrap, tint, stitching, wheel color, or starlight headliner.
The first part of interior ambient lighting installation is a simple conversation. Before any trim comes off, the team needs to know what you want the cabin to look like.
Here are a few questions that may come up:
This step helps the installer understand the style of the build. A luxury sedan may call for soft lighting with hidden placement. A lifted truck may call for brighter footwell and speaker lighting. A Tesla owner may want a clean cabin glow that matches the simple interior design.
Bottom line, your goals guide the layout.
If you already have photos of a look you like, bring them. Photos make it easier to explain brightness, color, and placement. You do not need to know all the technical details. You only need to explain how you want the cabin to feel.
Next, the vehicle interior should be checked. This helps the installer see where lights can be placed and where wiring can be hidden.
Every vehicle is different. A coupe, sedan, truck, SUV, Jeep, and Tesla all have different trim panels, console shapes, seat layouts, door designs, and wiring paths. Some interiors have clean gaps for lighting. Others need more planning so the lights do not look forced.
The inspection may look at:
Now here’s the thing.
Interior ambient lighting installation should not block factory parts or create glare near the driver’s eyes. It should also avoid places where feet, seat tracks, cargo, or cleaning tools could damage the lights.
This step is where a clean install starts.
After the interior is checked, the next step is choosing lighting locations.
Some drivers want only footwell lighting. Others want door strips, dash accents, console glow, speaker rings, and rear seat lighting. The right setup depends on the cabin shape and the style you want.
Common lighting layouts include:
Let’s break it down.
Footwell lighting is a good choice if you want a simple cabin glow. Door and dash lighting can make the interior feel more modern. Console lighting can make the center area stand out. Speaker lighting can pair well with audio upgrades.
A full cabin layout can look great, but it should still feel balanced. Too much light can look messy or distracting. A smart layout uses light where it adds style without overpowering the interior.
Color choice is one of the most fun parts of interior ambient lighting installation.
Some drivers choose white because it looks clean and close to a factory luxury look. Blue can feel calm and modern. Red can feel sporty. Purple can feel more custom. RGB lighting gives you the choice to change colors later.
Controls matter too.
Interior ambient lighting can be controlled by:
Here’s what matters.
If you drive the vehicle often, dimming is worth asking about. Bright lighting may look good in a photo, but softer light is usually better at night. You should be able to turn the lights down, change the color, or shut them off when needed.
NHTSA driver distraction guidance focuses on reducing visual and manual tasks that pull attention from the road, so it is smart to set lighting color and brightness before driving. Keep app changes and show modes for parked use.
Wiring is one of the most important parts of interior ambient lighting installation.
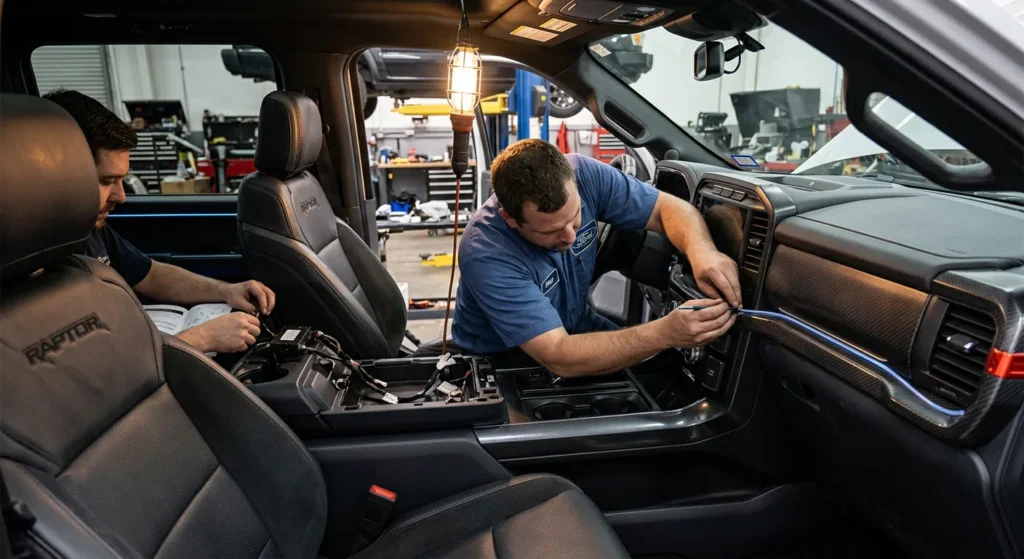
The lighting needs power. The wires need to be hidden. The controller needs a smart location. The system should be easy to turn on and off. Nothing should interfere with factory wiring, trim movement, pedals, seat tracks, or airbags.
A clean wiring plan may include:
The catch is, poor wiring can ruin the whole job.
Loose wires can hang under the dash. Bad routing can cause flickering. Messy controller placement can look unfinished. A rushed power connection can lead to issues later.
Interior ambient lighting installation should look clean in daylight, not only at night when the lights are on.
Many installs require some trim removal. This may include lower dash panels, door sill trim, kick panels, console panels, or other interior pieces.
This step has to be done carefully. Interior trim can have clips, screws, harnesses, sensors, and delicate finishes. Some vehicles also have airbags and factory wiring near trim areas. The installer needs to know what to touch and what to avoid.
Here is why it matters.
A lighting upgrade should not leave behind broken clips, loose panels, rattles, scratches, or gaps. The point is to make the cabin look better, not create new problems.
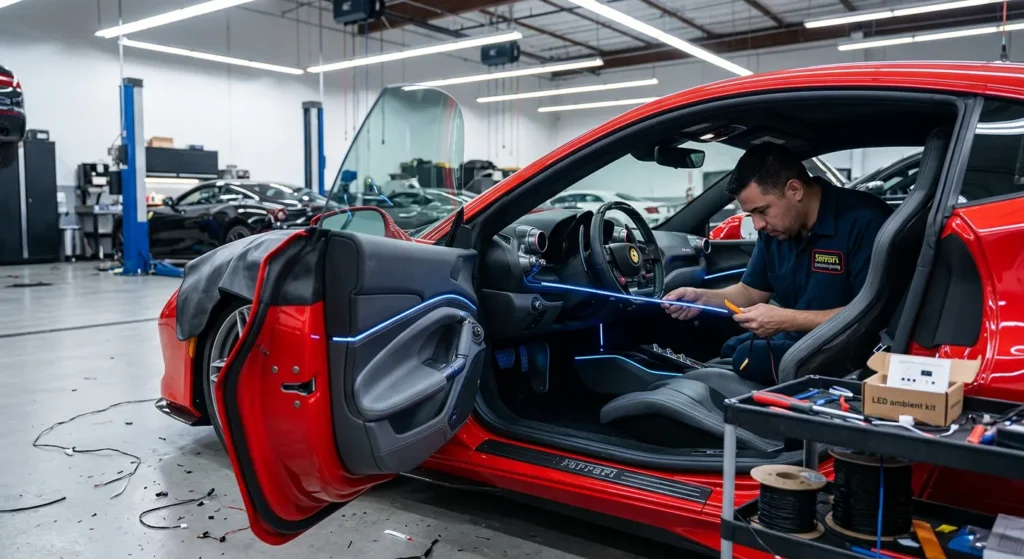
Notorious Auto Protection works on custom interior services such as interior vehicle ambient lighting installation, starlight headliner installation, car audio systems, and Apple CarPlay installation. That type of work requires careful trim handling.
Once the plan is set and trim is ready, the installer can place the lighting.
This may include mounting LED strips, light tubes, light guides, or accent lights. The exact parts depend on the system and the vehicle. The lights need to be aimed so the glow looks even. They also need to be placed so the light source is not harsh or distracting.
A good install should avoid:
What this means is simple.
Interior ambient lighting installation is not only about the lights. It is about placement, routing, controls, and finish. A clean setup should look like it was planned from the start.
Before the trim goes back on, the lighting system should be tested.
Testing can include:
This step saves time because it is easier to fix a small issue before panels are reinstalled.
Now here’s the thing.
Once the cabin is put back together, fixing a wire or moving a light may require taking trim apart again. That is why testing before reassembly matters.
The installer should look at the lighting from the driver seat, passenger seat, and rear seats if those areas are part of the install. The glow should feel even and comfortable.
After the lighting is tested, trim panels can go back into place.
A clean reassembly should leave the interior looking neat. Panels should fit correctly. Wires should stay hidden. Controls should be placed where the driver can use them without a struggle. The cabin should not have loose parts, rattles, or visible mistakes.
The installer may also wipe down work areas and remove any small install debris.
This is the stage where the lighting starts to feel like part of the vehicle. When the lights are off, the interior should still look clean. When the lights are on, the cabin should have the glow you planned.
The final step of interior ambient lighting installation is the walkthrough.
The team should show you how the system works before you leave. This may include how to turn the lights on and off, change colors, dim the lights, use an app, use a remote, or switch modes.
A good walkthrough should cover:
Here is why this matters.
You should not leave guessing how your new lighting works. If your system has RGB modes, flashing modes, or app control, you should know how to keep the lighting simple while driving and save brighter effects for parked use.
New York Vehicle and Traffic Law § 376 gives the state authority over lamps, reflectors, and signaling devices used on vehicles on public highways or streets. Since lighting rules can affect how vehicle lights are used, drivers should avoid exterior-visible colors or effects that could cause confusion. Interior lighting should also be kept dim enough to avoid distraction.
Interior ambient lighting installation cost depends on the vehicle and the setup. Notorious Auto Protection does not need to guess from a generic number because every cabin is different.
Cost can depend on:
A simple footwell lighting setup will not take the same work as a full cabin design with doors, dash, console, rear seats, and speaker accents. A vehicle with tight trim may also take more time than one with easy access.
The best way to get a quote is to call with your vehicle year, make, model, and the lighting style you want.
Yes. Interior ambient lighting installation pairs well with many other upgrades.
If you want a full cabin lighting theme, ask about starlight headliner installation. A starlight headliner can add a starry roof effect, while ambient lighting adds glow around the lower and side areas of the cabin.
If you want the sound system to match the cabin look, ask about car audio systems, car speakers, car amplifiers, and car subwoofers.
If you want the outside of the vehicle to match the inside, ask about window tinting, vinyl wrap, paint protection film, color paint protection film, ceramic coating, and auto detailing.
Next steps depend on your style.
A daily driver may need soft footwell lighting. A show build may call for RGB cabin lighting, starlight headliner, underglow, tint, and wrap. A truck or Jeep may pair interior lighting with rock lights installation or vehicle underglow installation.
Interior ambient lighting installation can make your vehicle feel more personal every time you open the door. The best results come from a plan, clean wiring, careful trim work, and controls that are easy to use.
Notorious Auto Protection has served Syracuse, NY since 2020. The shop is Ceramic Pro certified, a Ceramic Pro vendor, and carries warranties on products and services. With 269 reviews and a 5-star rating, Notorious Auto Protection is a trusted choice for drivers who care about how their vehicles look and feel.
To plan your install, bring your vehicle details and your lighting ideas. Photos, color goals, and notes about future upgrades can help the team plan a cleaner layout.
Notorious Auto Protection is located at 6742 Pickard Dr, Syracuse, NY 13211. Business hours are Monday through Saturday from 8 AM to 6 PM and Sunday from 8 AM to 5:30 PM.
Call (315) 552-4441 or visit https://notoriousautoprotection.com/contact-us to schedule an appointment.
Interior ambient lighting installation adds soft LED lighting inside the vehicle cabin. It can be placed in areas such as the footwells, doors, dash, console, cup holders, speakers, or rear seating area.
Timing depends on the vehicle and the layout. A smaller setup may take less time than a full cabin layout with doors, dash, footwells, rear seats, and app control. Call Notorious Auto Protection for scheduling details.
Yes. Many systems allow one color or RGB color-changing lighting. You can choose a subtle factory-style color or a bolder color that matches your build.
Some systems offer app control, remote control, or switch control. Ask Notorious Auto Protection which control setup is best for your vehicle and lighting goals.
It can be safe when used wisely. Keep brightness low while driving, avoid flashing modes on the road, and set the color before you start driving.
Yes. Ambient lighting and a starlight headliner can work well together. Ambient lighting adds glow around the cabin, while the starlight headliner adds a star effect above the seats.
Call Notorious Auto Protection at (315) 552-4441 or visit https://notoriousautoprotection.com/contact-us to request an appointment.
Your vehicle is a significant investment, and ensuring its protection from the elements and everyday hazards is crucial to maintaining its value and appearance. In Syracuse, NY, where road conditions and weather can be unpredictable, combining STEK Paint Protection Film (PPF) and Window Tint offers the ultimate solution for safeguarding your car. At Notorious Auto Protection, we specialize in applying these premium products to provide your vehicle with maximum protection and enhanced aesthetics.
Product Brand: Auto Protection
Question about the service you're choosing, or simply ready to book? Contact us today to get started
Explore the many services we offer by clicking the boxes below